In this guide
Key facts: A well-seasoned carbon steel or cast iron pan can reach surface temperatures of 260–315°C (500–600°F) — the range where the Maillard reaction proceeds rapidly and produces hundreds of flavor compounds in seconds. Gas burners output 7,000–20,000 BTU/hour; standard electric elements output 1,500–3,000 W. Response time to heat adjustments: gas is near-instant, induction is under 1 second, electric coil takes 30–90 seconds.
How a stovetop actually works
The stovetop heats food through a single dominant mechanism: conduction. Heat transfers from the burner through the pan bottom and into the food. Unlike an oven, which heats from all sides through convection and radiation, the stovetop pushes heat through one surface only — the pan. That single point of contact is why choosing the right pan matters so much more on the stovetop than anywhere else.
The three common heat sources work through very different physics. A gas burner produces an open flame that heats the pan bottom directly through combustion gases and infrared radiation from the flame itself. You can see the heat and adjust it instantly — the flame is the feedback. An electric coil or glass-ceramic burner heats the pan conductively: the element gets hot first, and the pan absorbs that heat by contact. There is an inherent lag. The element continues putting out heat after you reduce the dial, and the pan stays hot after you move it. This lag is predictable once you account for it, but it demands a different approach than gas.
Induction is the outlier. An induction burner generates an alternating magnetic field that induces electrical currents directly in the pan’s metal, creating heat inside the pan itself rather than transferring heat from an external element. The burner surface stays cool. Only a pan made of ferromagnetic material — cast iron, carbon steel, magnetic stainless steel — will work. The practical result: heat is instant and precise, there’s almost no residual heat in the burner when you turn it off, and heat distribution across the pan bottom depends entirely on the quality of the pan rather than any spreading mechanism in the burner.
Understanding heat distribution and pan choice
Every burner has a hotspot — an area that receives more heat than the rest. On gas, this is the centre where the flame is most intense. On electric coils, it follows the coil pattern. On induction, it is concentrated in the area directly above the induction coil, which is usually smaller than the pan. The pan’s job is to spread that heat. A thick pan with good thermal conductivity — multi-ply stainless steel, carbon steel, cast iron — spreads heat more evenly. A thin pan passes the hotspot pattern straight through to the food.
The material determines not just heat distribution but heat retention and responsiveness. Copper heats fastest and responds to adjustments the quickest but requires careful maintenance. Aluminium is lightweight with excellent conductivity but reacts with acidic foods. Stainless steel alone is a poor conductor but is chemically inert and durable — which is why quality stainless pans use aluminium or copper cores. Cast iron heats slowly but retains enormous amounts of heat once up to temperature; it’s ideal for searing where you need the pan to stay hot despite the mass of cold food landing in it. Carbon steel is thinner and lighter than cast iron, heats faster, and responds more quickly to temperature changes — a French bistro kitchen workhorse.
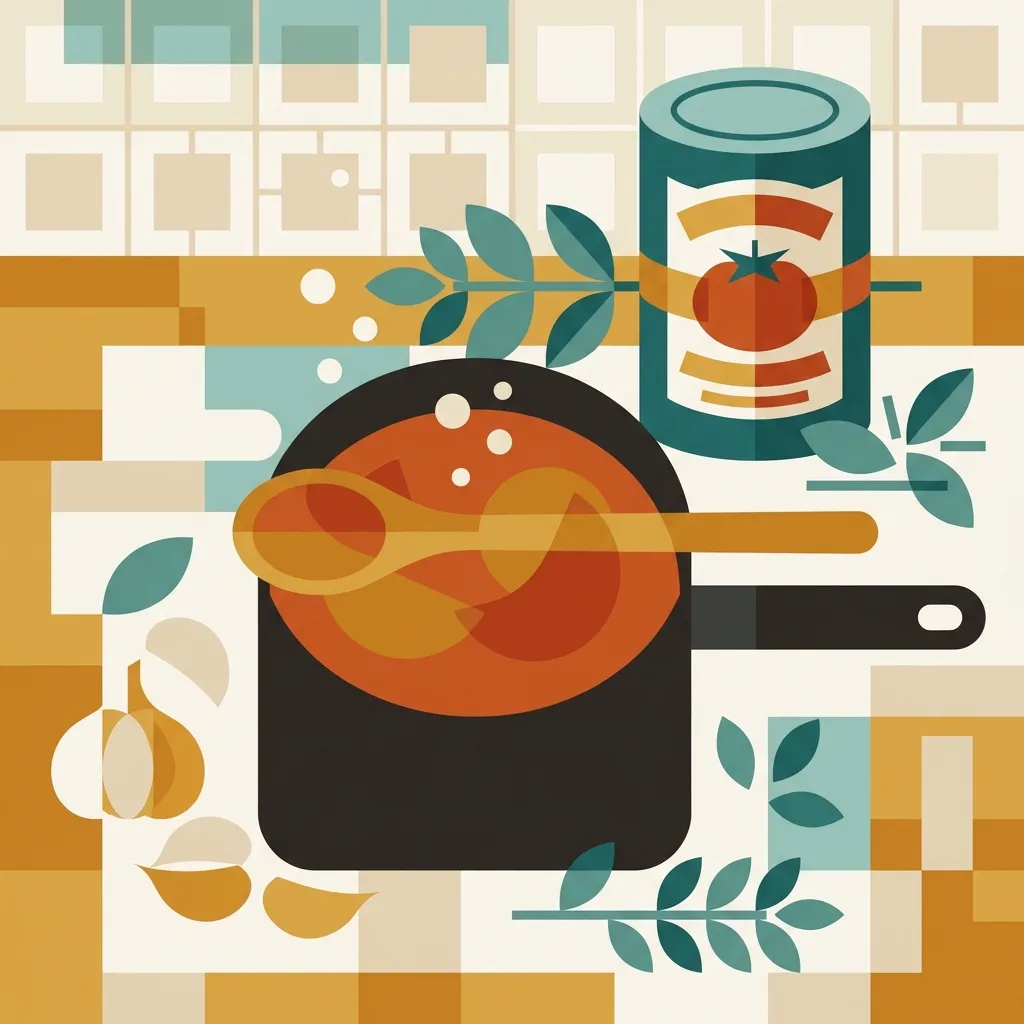
Non-stick coatings change the equation. The coating reduces the maximum useful pan temperature (typically don’t exceed 230°C / 450°F) and prevents the formation of fond — the browned bits stuck to the pan that are the foundation of a pan sauce. Non-stick excels for eggs, delicate fish, and pancakes, where sticking is the problem you’re solving. For searing and sauce-building, stainless steel or cast iron is the right tool.
Temperature guide
Pan surface temperature is what determines the cooking reaction — not the burner dial number, which is meaningless without knowing your specific stove. The only reliable reading is the pan itself: how it looks, how water behaves on it, how fat moves across it.
| Heat level | Pan surface | Water drop test | What it’s used for |
|---|---|---|---|
| Low | 60–90°C (140–195°F) | Sits without movement | Holding sauces warm, melting chocolate, very gentle poaching |
| Medium-low | 90–130°C (195–265°F) | Slowly evaporates | Sweating aromatics, simmering sauces, cooking eggs gently |
| Medium | 130–175°C (265–345°F) | Sizzles and evaporates in seconds | Sautéing vegetables, cooking fish, building roux, pan sauces |
| Medium-high | 175–205°C (345–400°F) | Instantly vaporises with loud sizzle | Searing chicken or pork, stir-frying, browning onions aggressively |
| High | 205–230°C (400–445°F) | Leidenfrost effect — droplets skitter and bead | Hard searing of beef and thick proteins, wok cooking, charring vegetables |
The Leidenfrost effect at high heat is a useful visual cue: water droplets skitter across the pan without immediately vaporising because they’re hovering on a layer of their own steam. When you see this, the pan is hot enough for an aggressive sear. If you’re using oil instead of water to test, it should move freely across the pan and shimmer. Smoke before the food goes in means the fat is close to its smoke point — reduce heat slightly or add the food immediately.
Timing guide
Stovetop timing is more variable than any other appliance because it depends on burner power, pan material, and how much food is in the pan at once. A cast iron pan at medium-high holds its heat through a cold steak; a thin pan drops sharply. Use these as starting points and adjust based on what you see.
| Task | Heat level | Time | Doneness cue |
|---|---|---|---|
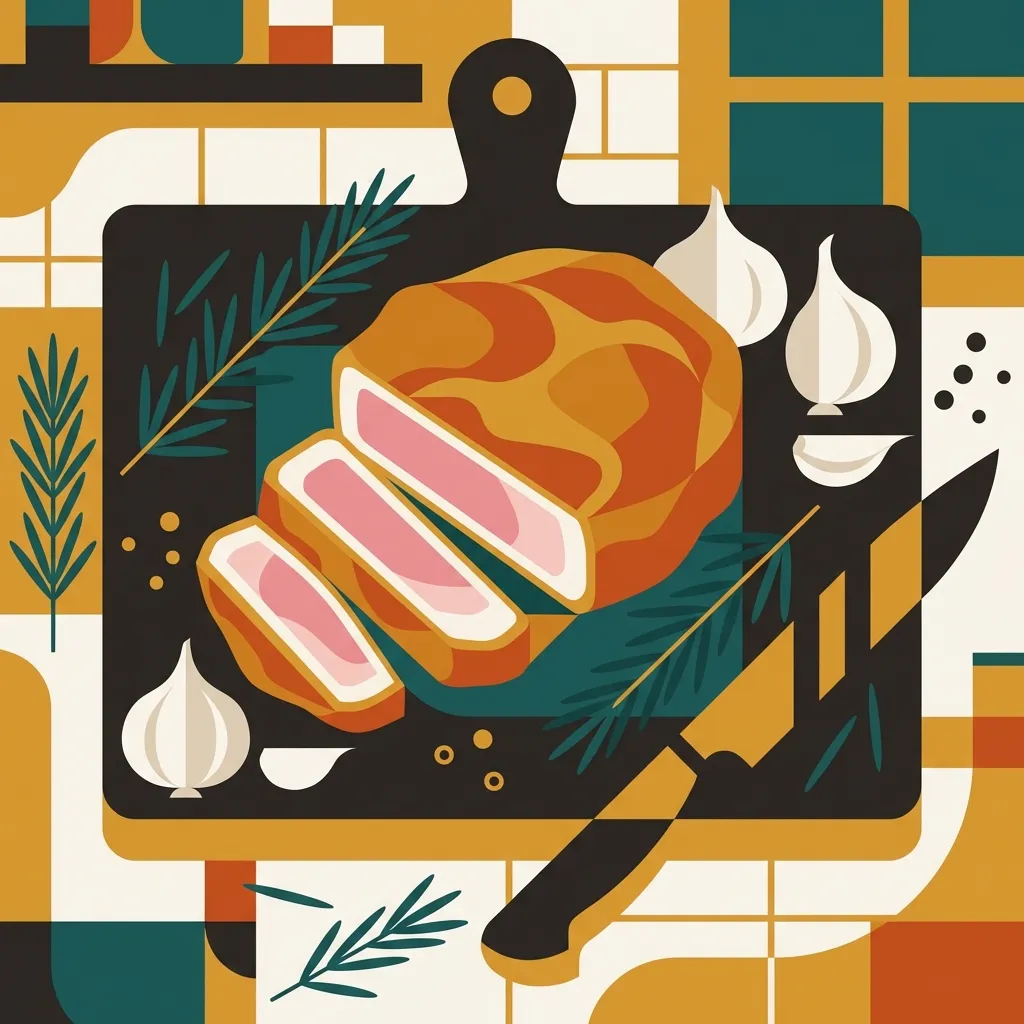
| Searing steak (2–3 cm thick, per side) | High | 2–3 min per side | Deep mahogany crust; releases easily from pan; 57–60°C internal for medium-rare |
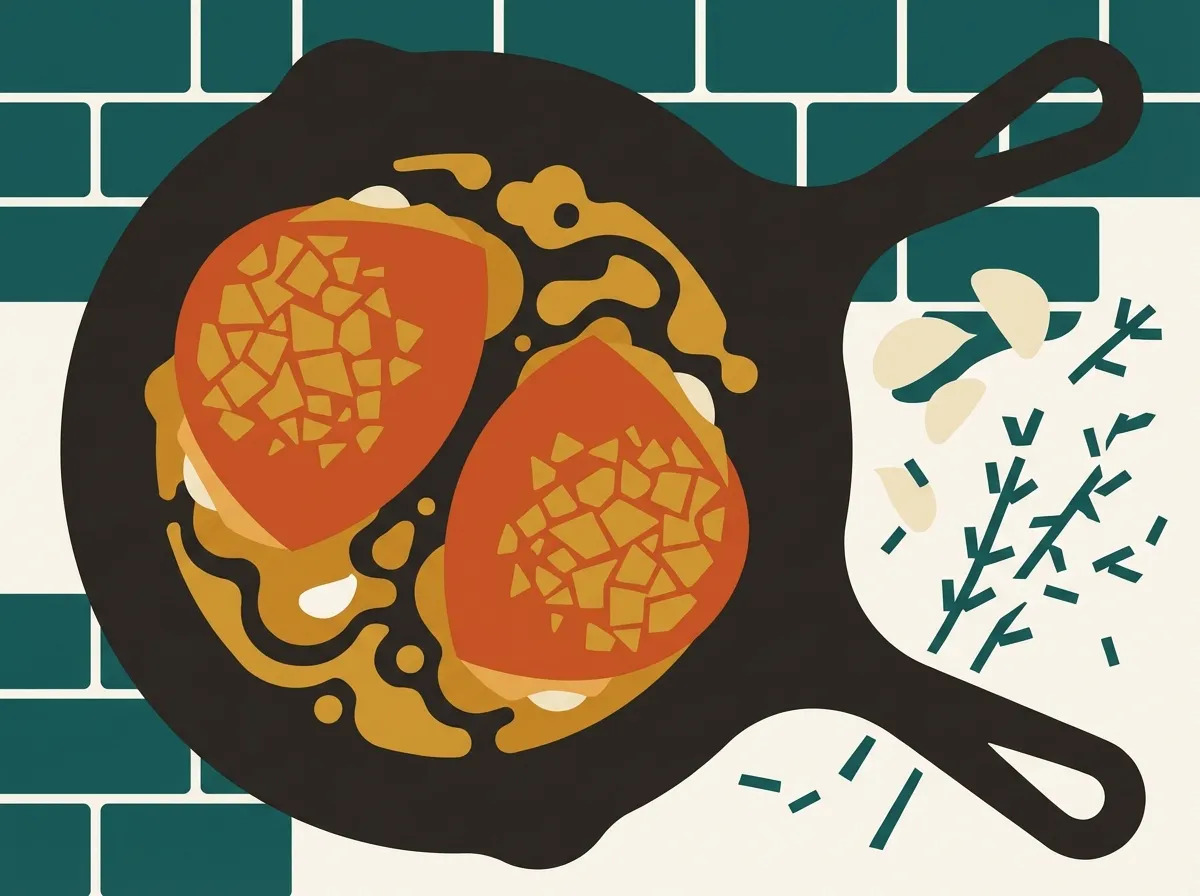
| Searing chicken thighs (bone-in, skin-side) | Medium-high | 6–8 min skin side, 4–5 min flesh side | Skin golden and crisp; fat rendered; 74°C internal |
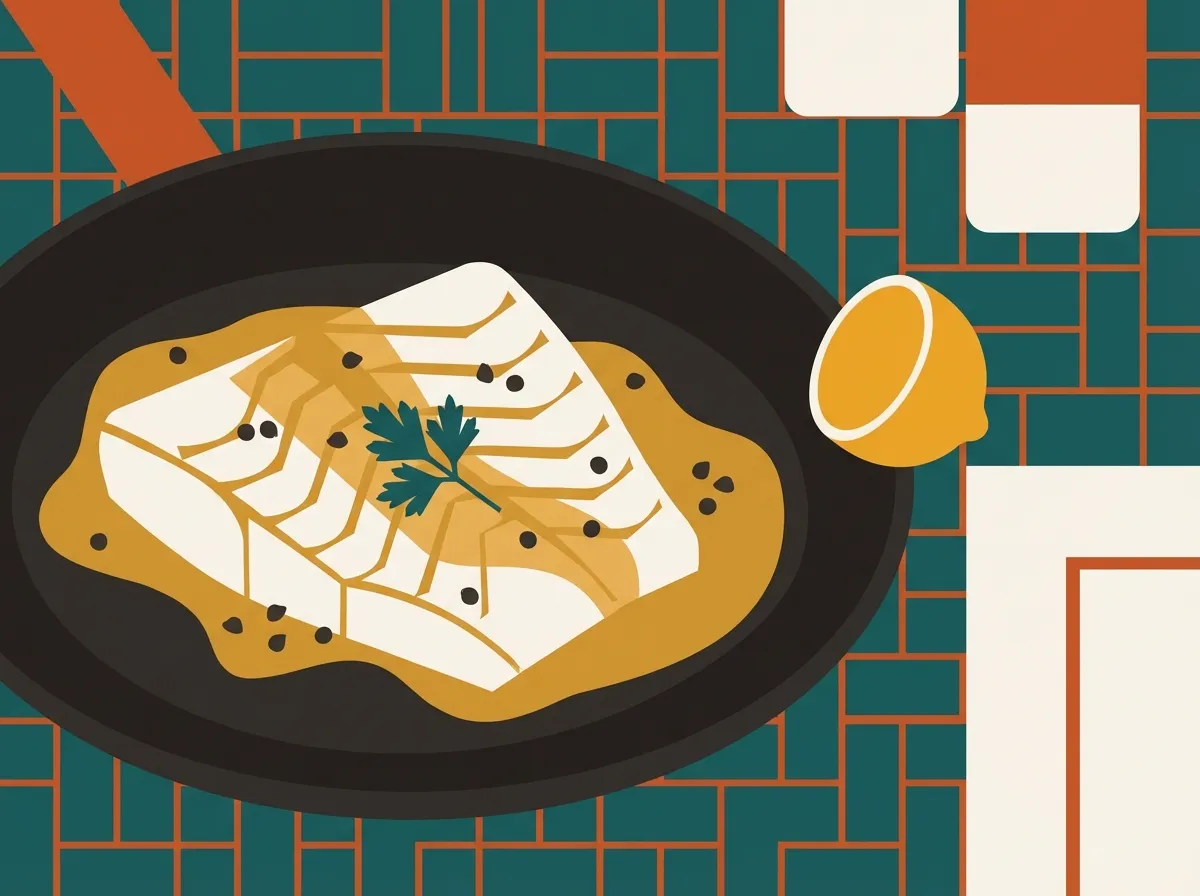
| Searing salmon fillet (3 cm thick, skin-side) | Medium-high | 4–5 min skin side, 2 min flesh side | Skin crisped and charred at edges; flesh opaque two-thirds up the side |
| Sautéing onions (sliced, to soften) | Medium | 8–12 min | Translucent and limp; no browning |
| Caramelising onions | Medium-low | 35–50 min | Deep amber throughout; jammy texture |
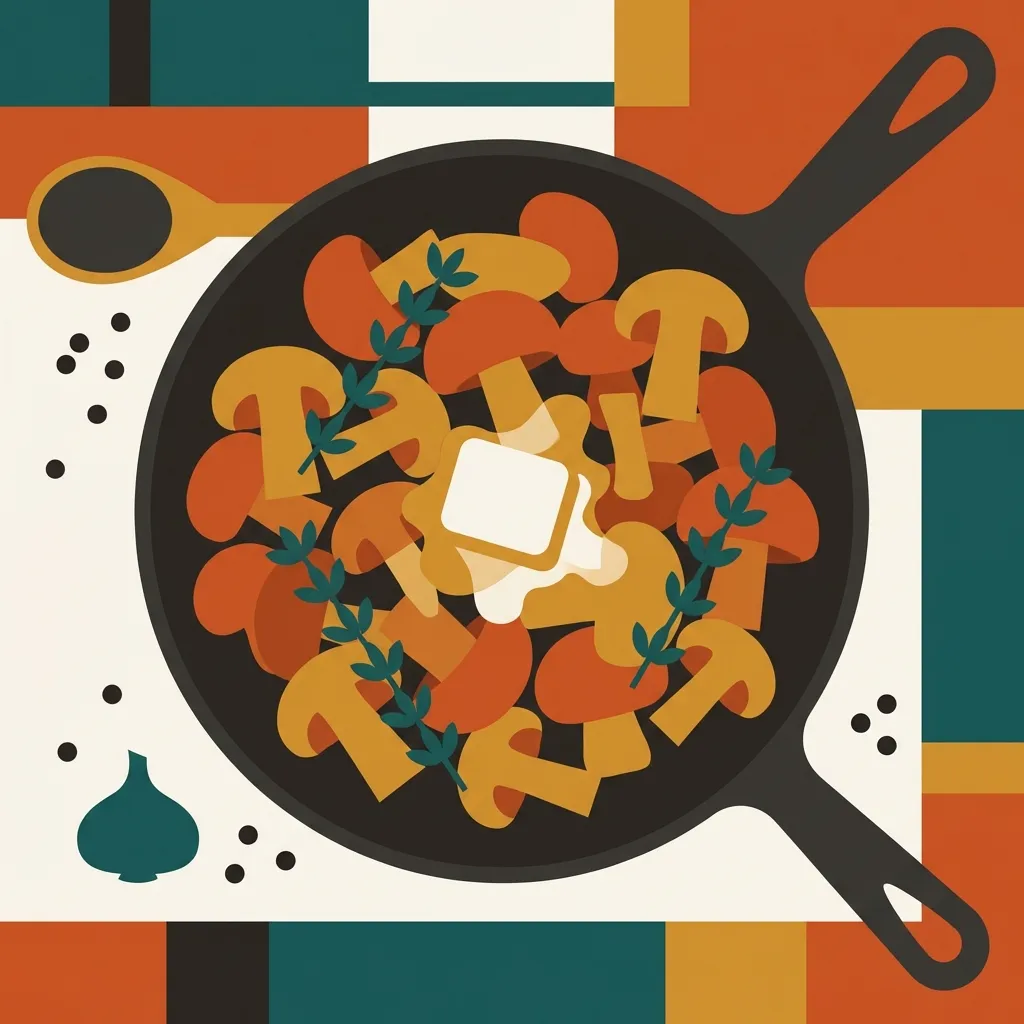
| Sautéing mushrooms (sliced) | Medium-high | 5–7 min | Well-browned, not steaming; moisture fully expelled |
| Sautéing garlic | Medium-low | 1–2 min | Fragrant and pale gold; not brown |
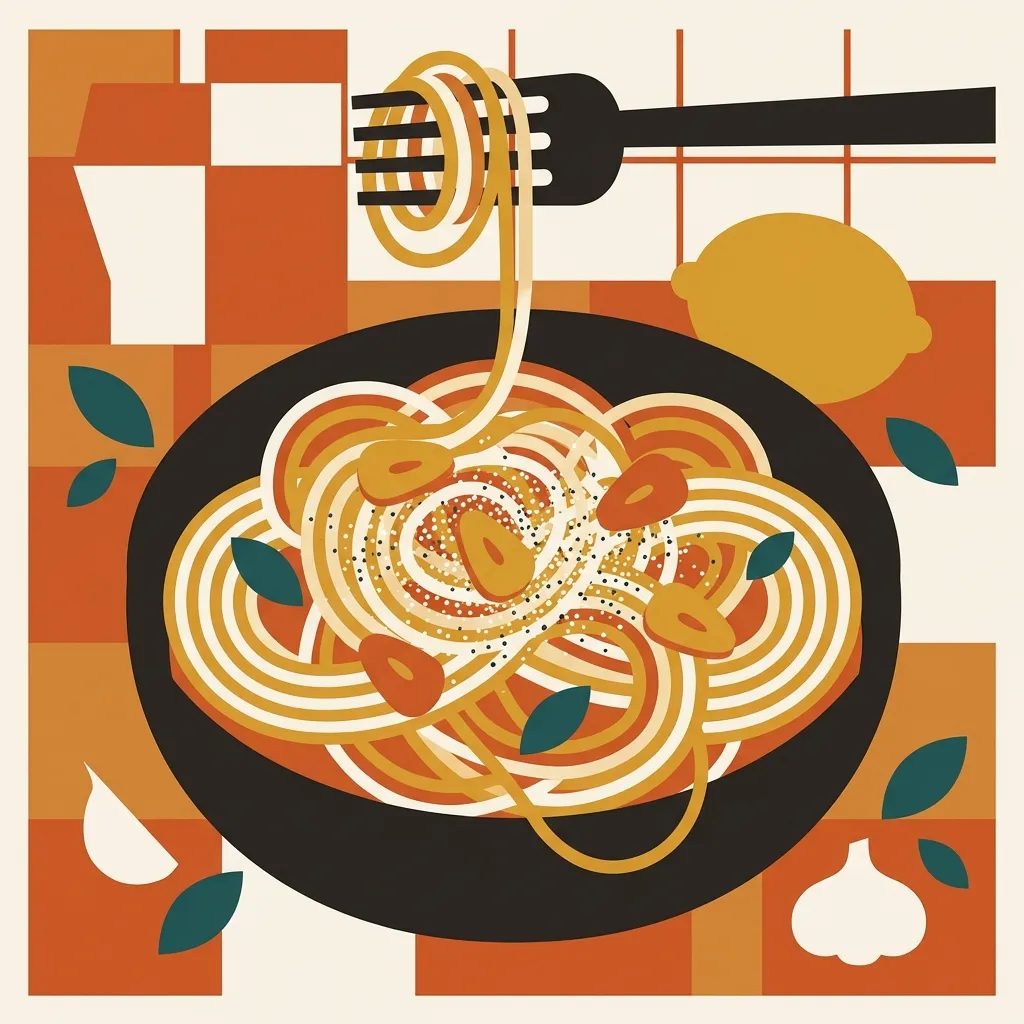
| Pan sauce (after searing) | Medium | 3–5 min | Reduced by half; coats the back of a spoon |
| Deglazing and reducing wine | Medium-high | 2–3 min | Alcohol smell gone; liquid reduced by two-thirds |
| Simmering beans or lentils | Low to medium-low | Varies by legume | Tender throughout; no starchy firmness at centre |
How to get better results
Preheat the pan before adding fat. A cold pan with cold oil produces different results than a hot pan with fat added just before the food. For searing, place the empty pan over medium-high heat and let it heat for 60–90 seconds. Then add oil with a high smoke point — refined avocado, grapeseed, or refined sunflower — swirl to coat, and add the food immediately. The fat should shimmer or ripple the moment it hits the pan; if it doesn’t, the pan isn’t hot enough. This matters less for gentle cooking like sweating aromatics, but it’s essential for anything you want to brown.
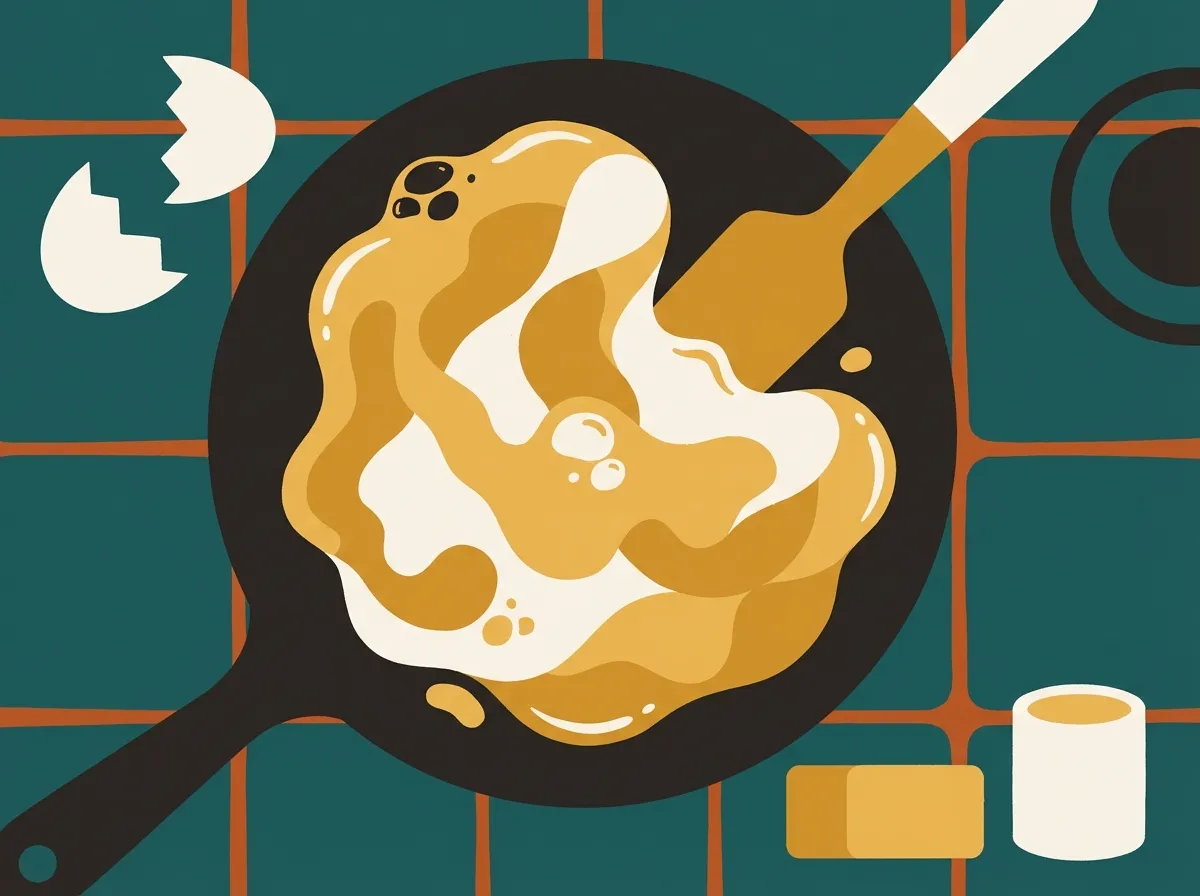
Dry the food thoroughly before searing. Surface moisture is the enemy of browning. When cold, wet food hits a hot pan, the first thing that happens is steam. Steam keeps the pan surface below 100°C until all that moisture has vaporised — during which time nothing is browning. Pat proteins dry with paper towels before searing. Season just before cooking (salt draws moisture to the surface; if you season more than a few minutes ahead, pat dry again). A wet surface on a steak means the meat will steam before it sears and you’ll get a grey, poorly coloured crust instead of a dark Maillard-browned one.
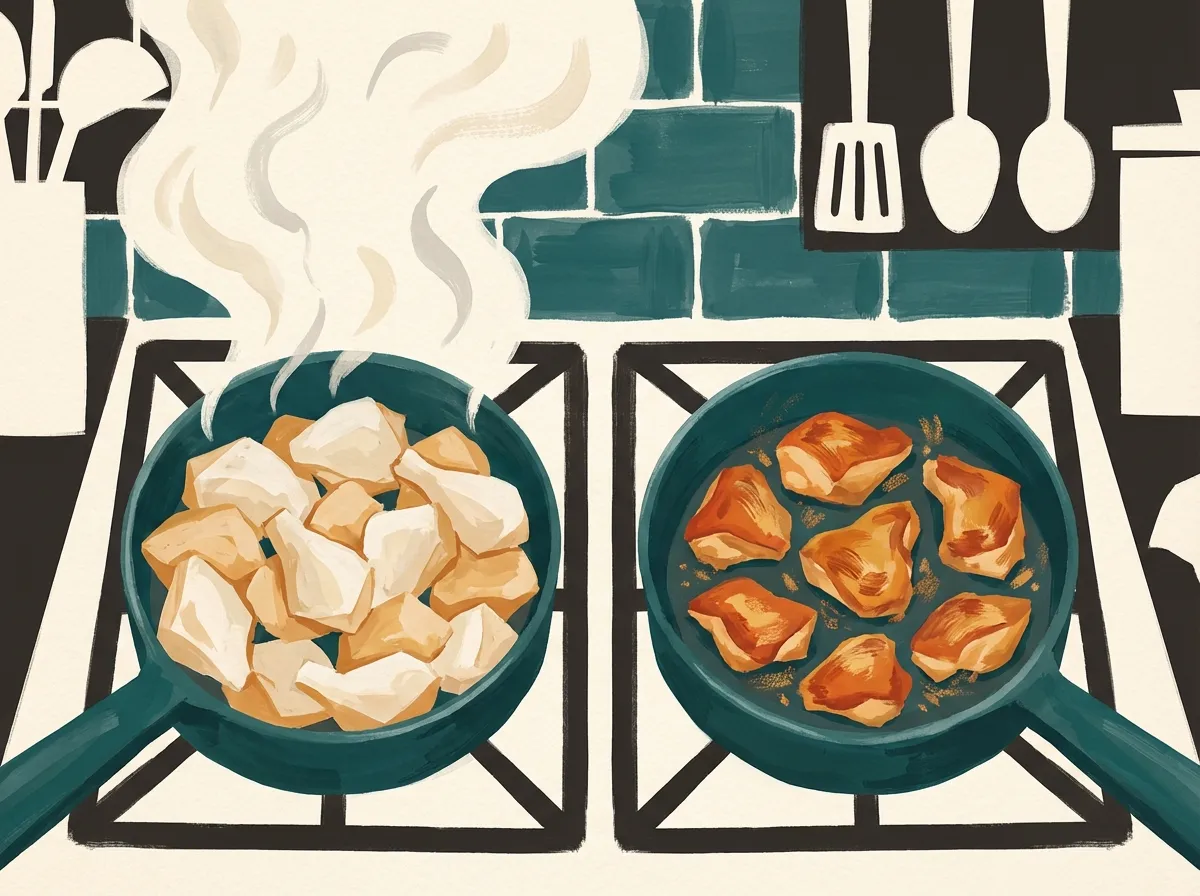
Don’t move the food. The most common stovetop searing mistake is fussing with the food. A proper sear requires sustained contact between the protein and the hot pan surface. Moving the food breaks this contact, lowers the pan temperature, and interrupts the Maillard reaction. Place the food in the pan and leave it alone. When it’s ready to flip, it will release cleanly. If it resists and sticks, it’s not ready — it will let go when the crust has formed. This applies to chicken, fish, and steak alike.
Manage the pan temperature actively. Unlike the oven, the stovetop gives you real-time control. If the pan gets too hot — smoking fat, burning edges — lift the pan off the burner entirely for 10–15 seconds or reduce heat and add a small amount of cold fat. If the pan cools too much after cold food goes in, increase the heat briefly until the sizzle returns. This feedback loop is the skill of stovetop cooking: reading the pan and adjusting constantly.
Size the pan to the task. Too small a pan and the food crowds, moisture accumulates, and you get steaming instead of browning. Too large a pan and the exposed fat in the corners overheats and smokes before the food has any colour. The food should fit in a single layer with small gaps between pieces — some space for steam to escape, not so much empty pan that the fat overheats.
What works well and what doesn’t
Works well:
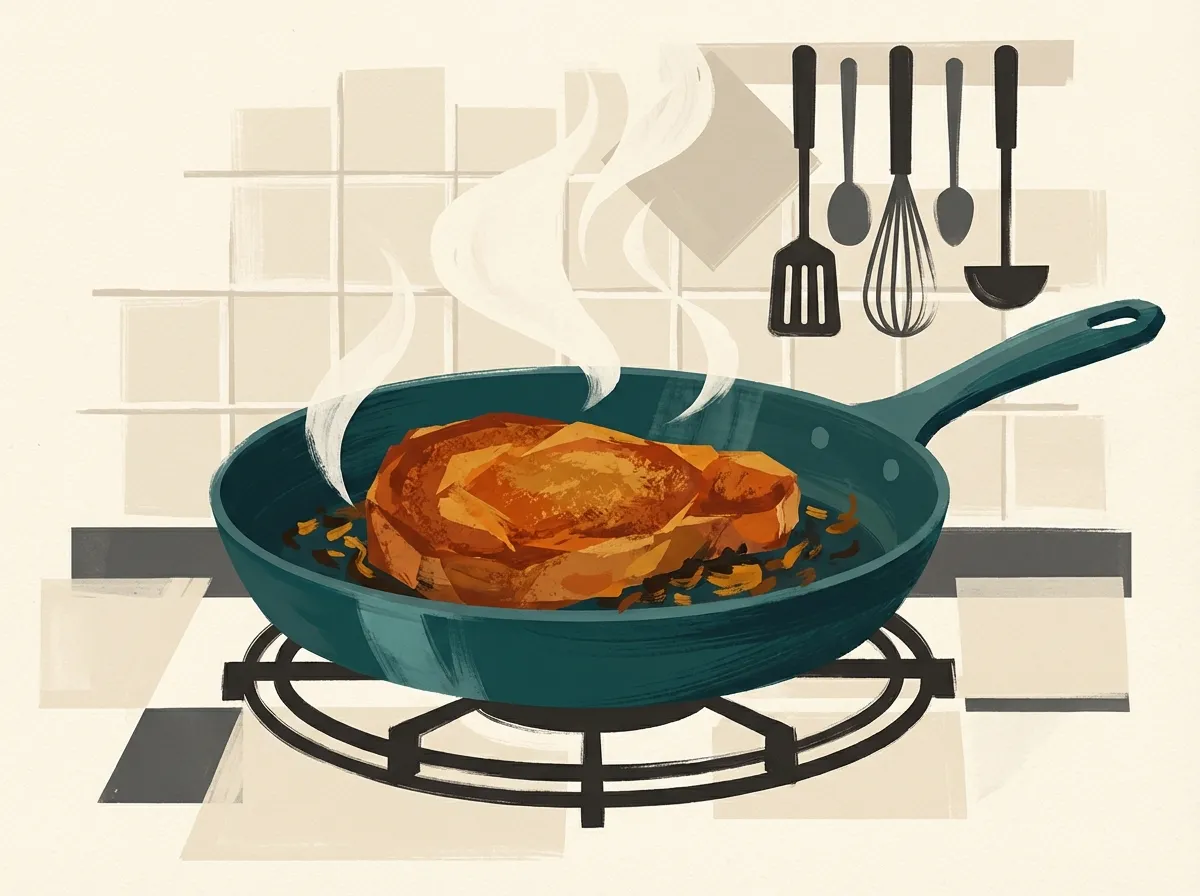
Searing is the stovetop’s primary strength. The direct high-heat contact between a hot cast iron or stainless pan and a protein surface produces Maillard browning faster and more intensely than any oven or air fryer. A steak seared in a hot pan develops a crust in 2–3 minutes per side that would take 15–20 minutes to replicate in even a hot oven, because of how much more efficiently heat transfers through direct metal contact than through hot air. (Source: McGee, Harold. On Food and Cooking. Scribner, 2004)
Pan sauces are something only the stovetop does efficiently. After searing a protein, the fond — those browned, caramelised proteins and sugars stuck to the pan — is the flavour base of a sauce. Deglaze with wine, stock, or water; the liquid dissolves the fond, and you build a deeply flavoured sauce in the same pan in 3–5 minutes. No other appliance creates fond this way or lets you build from it so directly. (Source: Maillard, L.C. Action des acides aminés sur les sucres. C.R. Acad. Sci., 1912)
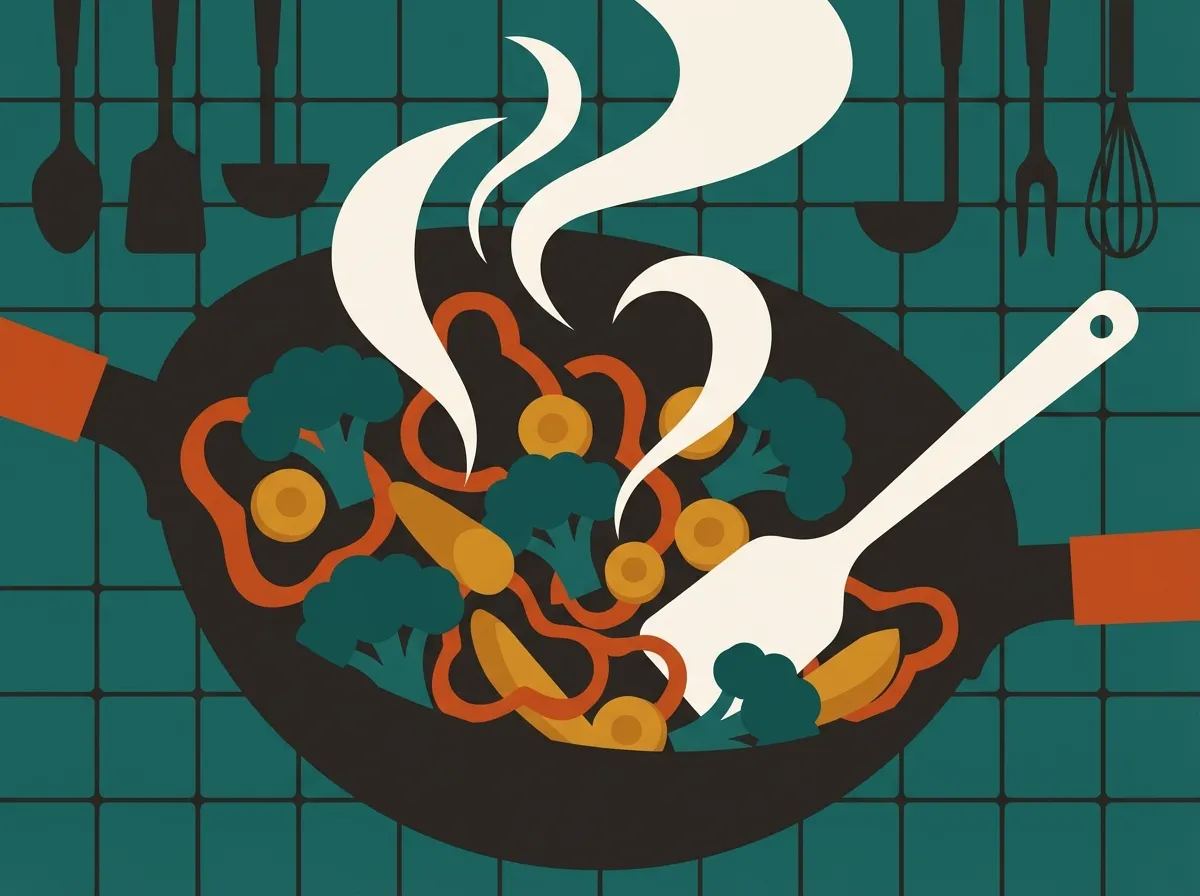
Sautéing and stir-frying — rapid cooking of small pieces in hot fat — requires the kind of instant, high heat the stovetop provides. Vegetables that hit a very hot pan with a small amount of oil get charred edges and tender centres within minutes. The same vegetables in a moderate oven take 20–25 minutes and produce a different result.
Precise temperature control for sauces, custards, and reductions. The stovetop allows immediate response — turn down the heat the moment a sauce threatens to boil and it stops within seconds. An oven or slow cooker can’t give you this level of moment-to-moment control.
Doesn’t work as well:
Low-and-slow braising of large tough cuts. The stovetop can start a braise — searing the meat first, building the sauce — but actually braising for 3–4 hours on the stovetop requires constant attention to prevent the pot from scorching on the bottom. The oven, slow cooker, or pressure cooker does the long-cook phase more reliably.
Holding food at a precise temperature for extended periods. A simmering sauce is easy to maintain; holding 63°C in a water bath for sous-vide style precision is not. The stovetop fluctuates too much for temperature-sensitive proteins.
Cooking large volumes simultaneously. One large pan gets hot; a second large pan on a different burner behaves differently, and juggling two or three pans at once requires experience. Ovens handle large batches more passively.
Common mistakes and how to fix them
Crowding the pan. When food is packed tightly into a pan, the moisture released during cooking has nowhere to escape. The pan temperature drops sharply, steam builds up above the food, and instead of a sear you get something closer to a braise. The fix: cook in batches. Add only as much food as fits in a single layer with visible gaps. For mushrooms, onions, and other moisture-rich vegetables, work in batches even when using a large pan. The first batch will be ready before you can crowd a second.
Adding food to a cold pan. A cold or warm pan doesn’t sear — it sticks. Proteins cooked in a pan that isn’t hot enough adhere to the metal because the Maillard reaction hasn’t formed the crust that naturally releases from the surface. Heat the pan first, add fat, and make sure the fat shimmers before adding food. If you’re using stainless steel, the hot-pan-cold-oil technique is particularly important: proteins added to an adequately hot stainless surface will release cleanly when the crust forms.
Using the wrong fat. Butter burns at around 150°C (300°F) because of the milk solids. Using butter alone for high-heat searing means it turns brown and bitter before the food has time to colour. For high-heat cooking, use refined oils with smoke points above 200°C. For flavour, finish with butter in the last minute of cooking — it adds richness and colour without burning. Clarified butter (ghee) removes the milk solids and raises the smoke point, making it useful for searing if you prefer a buttery flavour throughout.
Turning food before the crust sets. If you try to flip a steak or chicken breast and it resists, the crust hasn’t formed yet. Forcing it tears the surface, leaves behind the best part of the sear, and results in uneven browning. Wait. The food will release naturally when the crust is ready. This typically takes 2–3 minutes for a steak at high heat, 6–8 minutes for skin-on chicken at medium-high.
Deglazing with too much heat (and boiling off the flavour). After searing, the pan is very hot. Adding cold wine or stock to a screaming-hot pan causes immediate, violent boiling that evaporates alcohol and delicate aromatics before they can contribute to the sauce. Reduce the heat to medium before deglazing, or pull the pan off the burner briefly. Add the liquid, then return to medium heat and reduce with control.
Not seasoning the fond before building a sauce. The fond is flavourful but not yet seasoned. Taste the sauce as you build it — after the fond dissolves, after the liquid reduces, and again before serving. A pan sauce can go from flat to excellent with salt added at the right stage of reduction.
Cleaning and maintenance
Stainless steel pans are the most demanding to clean because food sticks and scorches easily, but they’re also the most durable. After cooking, deglaze with a small amount of water while the pan is still warm — the residual heat loosens most stuck food easily. For stubborn fond or scorching, fill the pan with an inch of water, bring to a simmer on the stove, and let the hot water loosen the debris before scrubbing. Bar Keepers Friend (oxalic acid) restores discoloured or tarnished stainless steel to near-new condition — apply it as a paste, scrub with a soft cloth, rinse. Avoid steel wool on stainless; it leaves scratches that trap food and are difficult to remove.
Cast iron requires different care. Never soak cast iron in water — prolonged water contact causes rust. After cooking, rinse with hot water while the pan is still warm. For stuck food, use a chainmail scrubber or stiff brush with hot water. Dry thoroughly on the burner over low heat for 1–2 minutes, then apply a very thin film of neutral oil to the cooking surface while the pan is still warm. Store dry. If cast iron develops rust, scrub the affected area with a metal scrubber, rinse, dry, and re-season: coat the entire pan in a thin film of oil and heat it upside down in a 230°C (450°F) oven for an hour.
Carbon steel maintenance is nearly identical to cast iron. It requires seasoning, should not be soaked, and should be dried and lightly oiled after each use. Carbon steel is thinner and will warp if heated too aggressively from cold — bring it up to temperature gradually before going to high heat.
Non-stick pans should be washed by hand with a soft sponge — dishwashers and abrasive pads degrade the coating. Never heat a non-stick pan over high heat while empty; the coating begins to break down above 230–260°C (450–500°F). If the coating is scratched or peeling, replace the pan. A compromised non-stick surface provides neither safe nor effective non-stick performance.
Keep burner grates (gas) or glass surfaces (electric and induction) clean. On gas stoves, food residue on grates blocks even heat distribution and creates uneven flame patterns. Remove grates when cool and clean them with hot soapy water and a stiff brush. On glass-ceramic and induction surfaces, food boiled over and baked onto the glass becomes increasingly difficult to remove — clean spills while the surface is still warm but not hot using a designated glass-top cleaner or a scraper rated for the surface.
Sources
- McGee, Harold. On Food and Cooking: The Science and Lore of the Kitchen. Scribner, 2004.
- Maillard, L.C. “Action des acides aminés sur les sucres.” Comptes rendus de l’Académie des Sciences, 154, 1912.
- López-Alt, J. Kenji. The Food Lab: Better Home Cooking Through Science. W.W. Norton & Company, 2015.